Single Screens
Single Screens are standalone web pages that can be configured to display specific types of information. To create a Screen, navigate to the Screens → Single Screens page and click the Create Screen button.
Creating a Screen
Sharly Chess offers six screen types to choose from when creating a new Screen:
Results Entry – Allows players to check in and enter their results from a shared device.
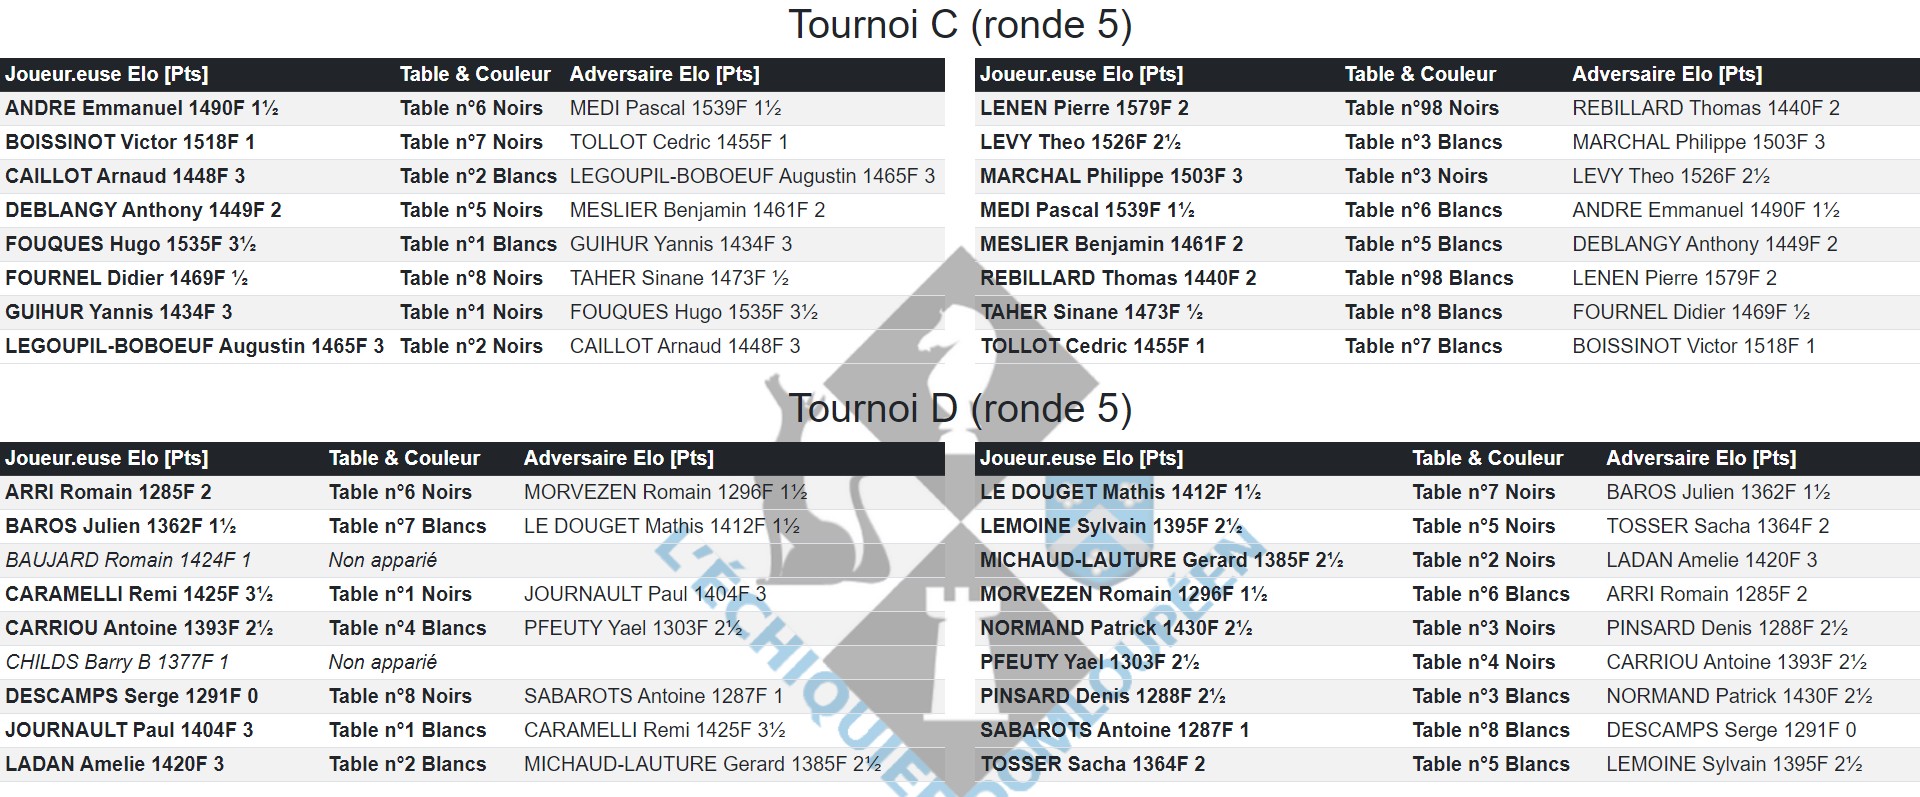
Pairings by Board – Displays pairings for a tournament, ordered by board number.
Pairings by Player – Displays pairings for a tournament, ordered alphabetically by player.
Last Results – Shows the most recent results for a tournament.
Rankings – Displays the current standings for a tournament.
Image – Displays an image from a file on your computer.
The pairings screens will display the check-in interface for a tournament when the check-in process is open.
Most options when creating a screen are self-explanatory, but a few deserve additional detail.
Layout
For most screen types, you can customize the layout by specifying the number of columns and adjusting the font size. This is particularly helpful when you have just slightly too many players to fit comfortably on one screen — reducing the font size can help everything fit nicely.
Alert Message
A scrolling alert message can be a powerful tool, especially when projecting on a large screen. For example: “Would players X and Y please enter their results!”
This message can be set at the event level, which means it appears across all screens for that event, but you can also override it on a per-screen basis here.
Menus
The Menus section allows you to configure navigation menus on your screen. This lets users jump between different Screens using the public interface.
To define which other Screens appear in the menu, enter their IDs (the ones you assign when creating each Screen), separated by commas.
You can also use special values to include categories of Screens:
- @boards – All pairing-by-board Screens
- @input – All input/result-entry Screens
- @players – All pairing-by-player Screens
- @ranking – All ranking Screens
Note: You don’t need to add a menu to every screen. For example, if a screen is displayed via a projector (rather than on an interactive device), including a menu may not be appropriate.

Selecting the Boards to Display
Once you’ve created a Screen you can choose which boards to include (for screen types that support board selection).
Click the Boards button on the Screen you’ve created to open the Board Set dialog. From here, you can add sets of boards to be displayed — these may come from the same tournament or from different tournaments.
This gives you a lot of flexibility to organize your Screens the way you prefer.
For example, if your event has two separate tournaments and two tablets for result entry:
- You could configure each tablet to display the boards from both tournaments, allowing players to scroll to their section to enter their results.
- Or, you could configure one tournament per tablet, letting players go to the tablet assigned to their tournament.
Another common case is when your event includes several small tournaments (like a local championship with separate sections by age group). You might choose to set up a single pairings Screen that shows all the boards across all tournaments — perfect for projection on a large screen.
This flexibility makes it easy to tailor your setup to the needs of your space, equipment, and number of tournaments.